5.2.9
Editing note clusters
To insert additional note heads to existing note stem:
In Insert mode, additional noteheads can be added to an existing note stem simply by
clicking above or below an existing note provided the selected note value (displayed
by the cursor) is the same as the existing note stem. Position the cursor on the correct
line or space and when the note highlights yellow, click to insert.
· To add a notehead to any existing note stem (regardless of what is shown on your
cursor), hit the "Z" key ("Cluster tool"). When the existing note highlights yel-
low, click to insert new notehead.
To delete a notehead from existing cluster:
· Select Cluster tool from the Notes palette ("Z" key). Then hit the "X" key Click-
ing on any notehead in a cluster will remove a single notehead. The Delete cluster
tool also works to delete single-headed notes.
NOTE: Always use the Cluster tool to remove single note heads. The single greyed
note and arrow will delete entire note cluster.
5.2.10
Inserting, changing and deleting beamed notes
To edit beamed notes:
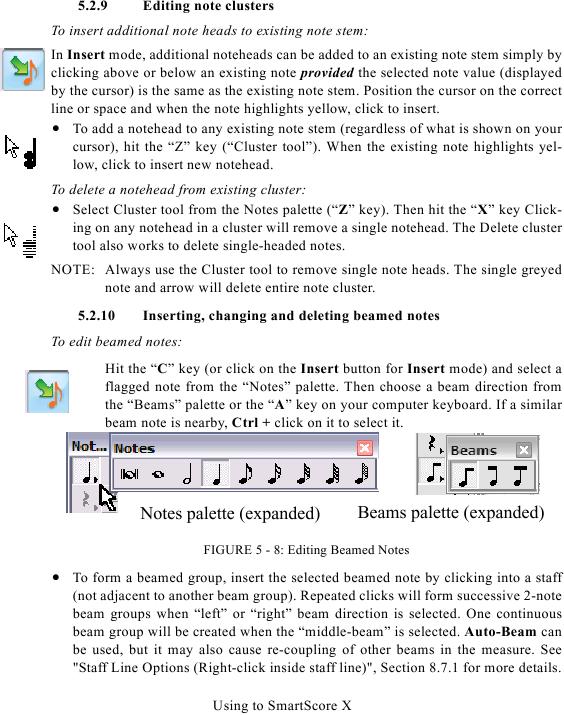
Hit the "C" key (or click on the Insert button for Insert mode) and select a
flagged note from the "Notes" palette. Then choose a beam direction from
the "Beams" palette or the "A" key on your computer keyboard. If a similar
beam note is nearby, Ctrl + click on it to select it.
Beams palette (expanded)
Notes palette (expanded)
FIGURE 5 - 8: Editing Beamed Notes
· To form a beamed group, insert the selected beamed note by clicking into a staff
(not adjacent to another beam group). Repeated clicks will form successive 2-note
beam groups when "left" or "right" beam direction is selected. One continuous
beam group will be created when the "middle-beam" is selected. Auto-Beam can
be used, but it may also cause re-coupling of other beams in the measure. See
Using to SmartScore X

